Do it yourself - CNC milling machine


Hello,
This is the project diary of my milling machine.
Because I'm a poor student, the project takes a while till it is completed. :-( Sponsors are welcome *g*


Material and tools
Plans
Links


-Page 1- / Page 2 / Page 3 / Page 4


Monday, 03. April 2006 - Beginning of building the machine table
Today I began to build the table for the machine.

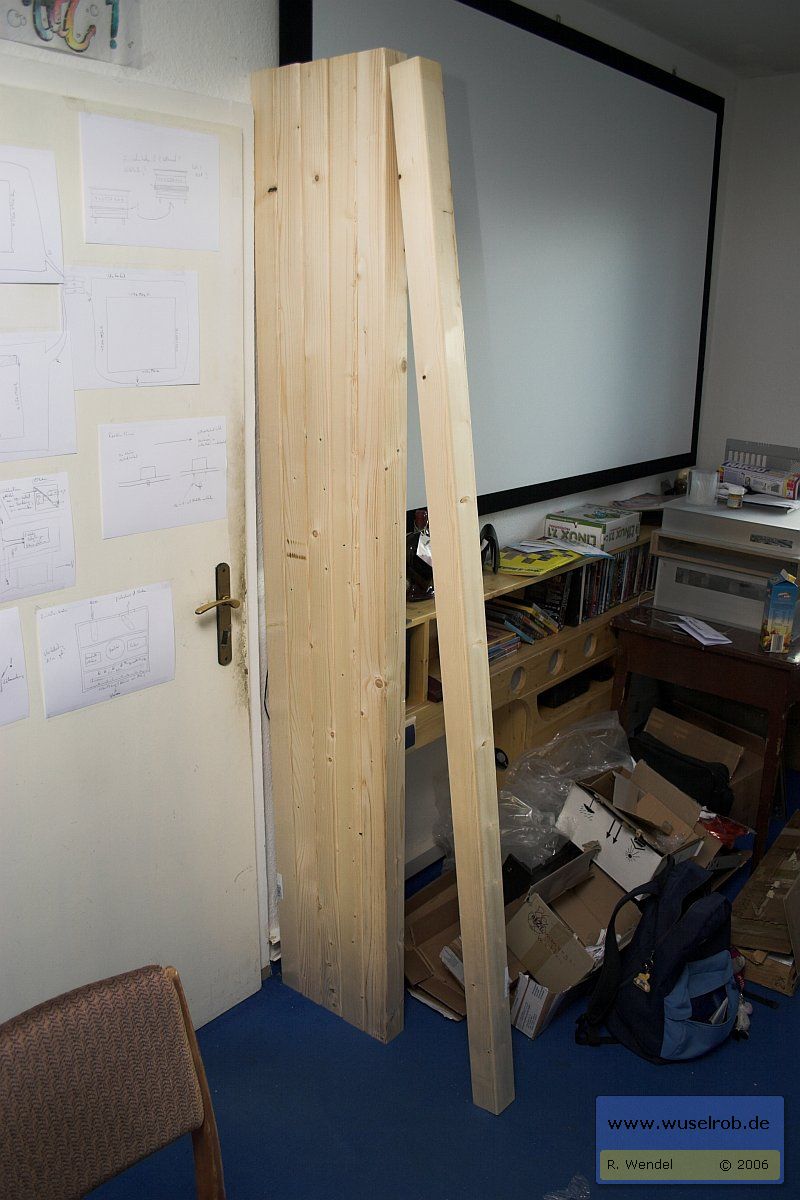
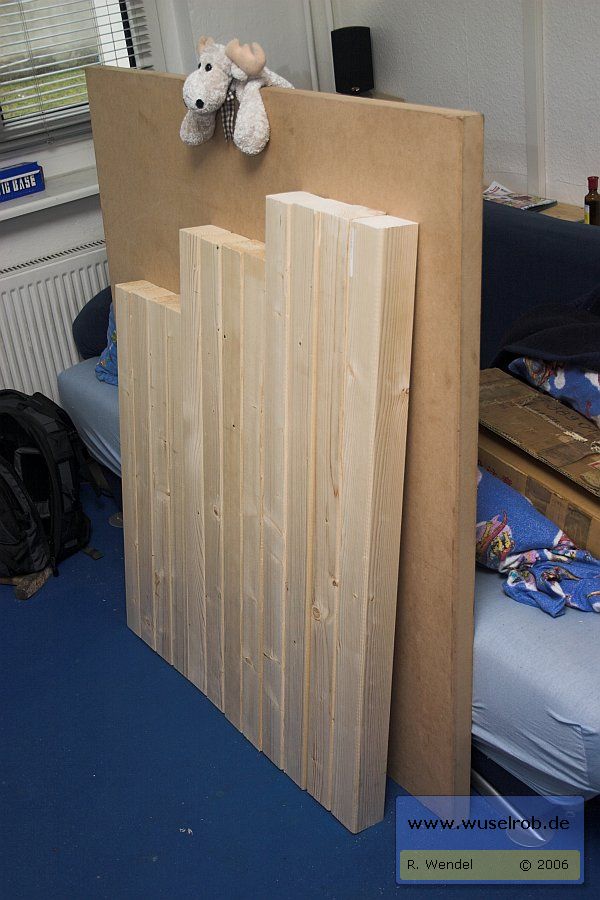
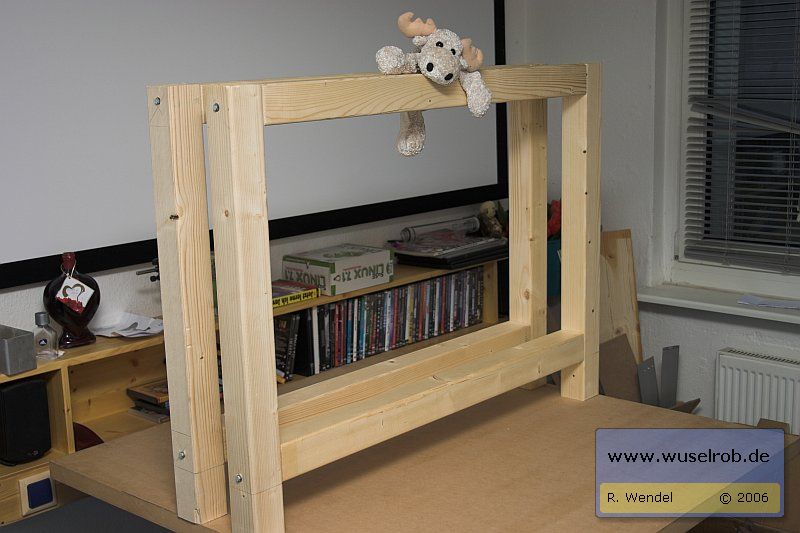
I use bars of Spruce wood (70x70x2100 mm) and a plate with a strength of 38 mm as table plate.
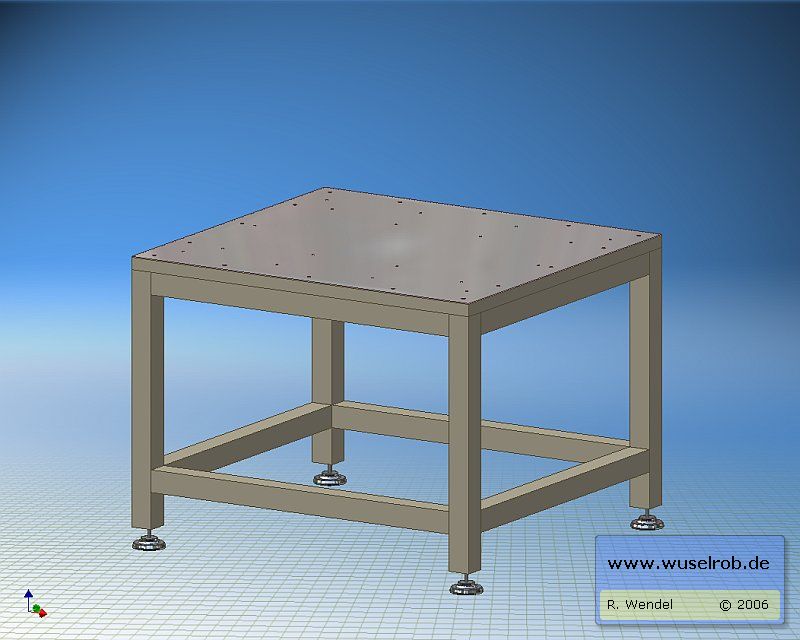
Draft:


wood bars:


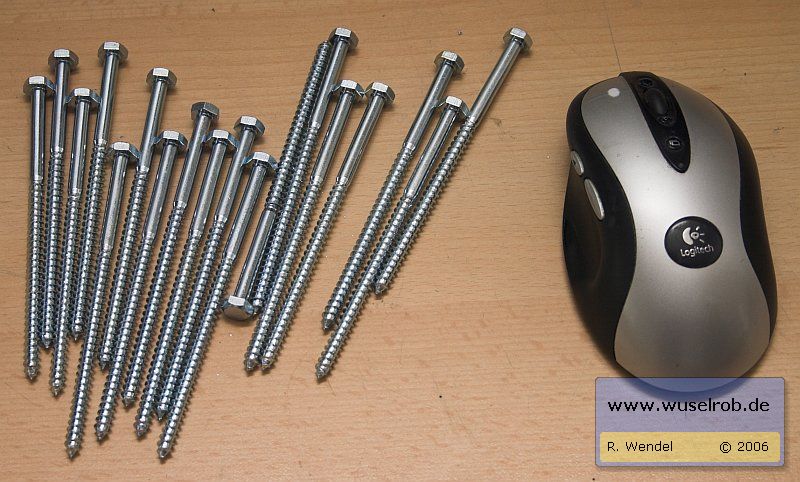
12mm long wood screws:


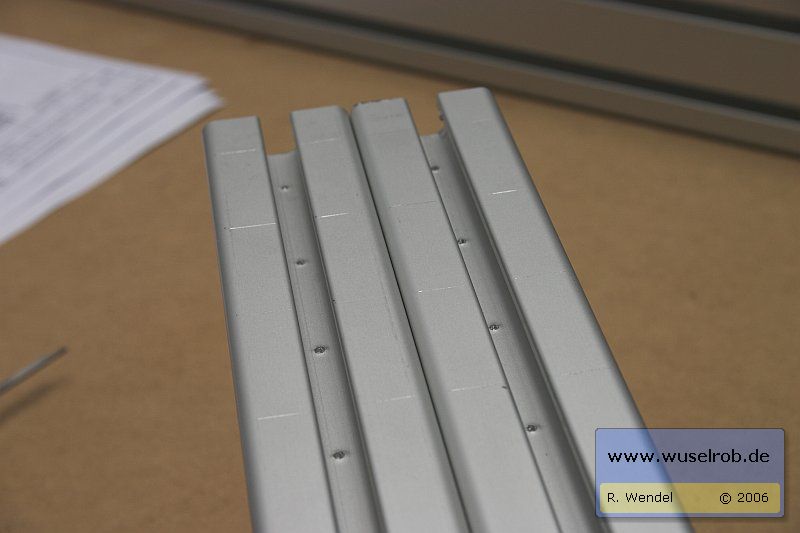
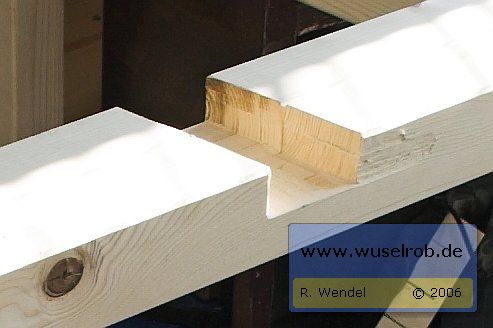
Cutted bars. Behind of them you can see the table plate.
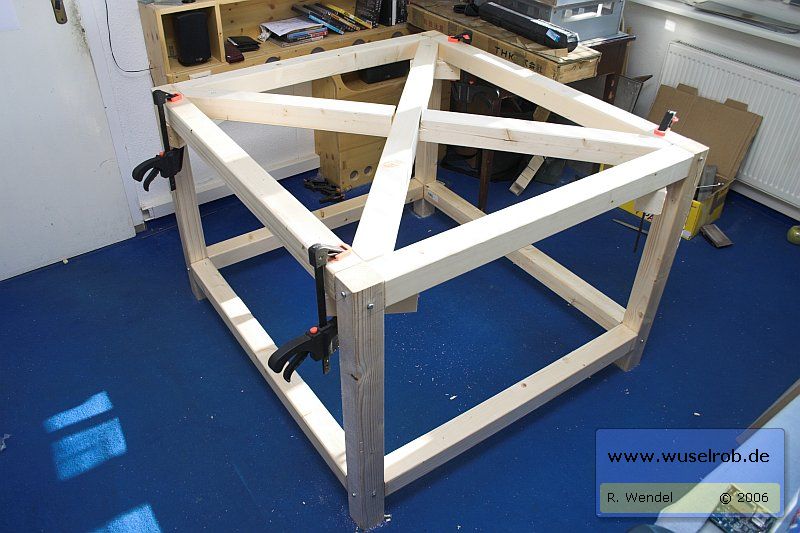
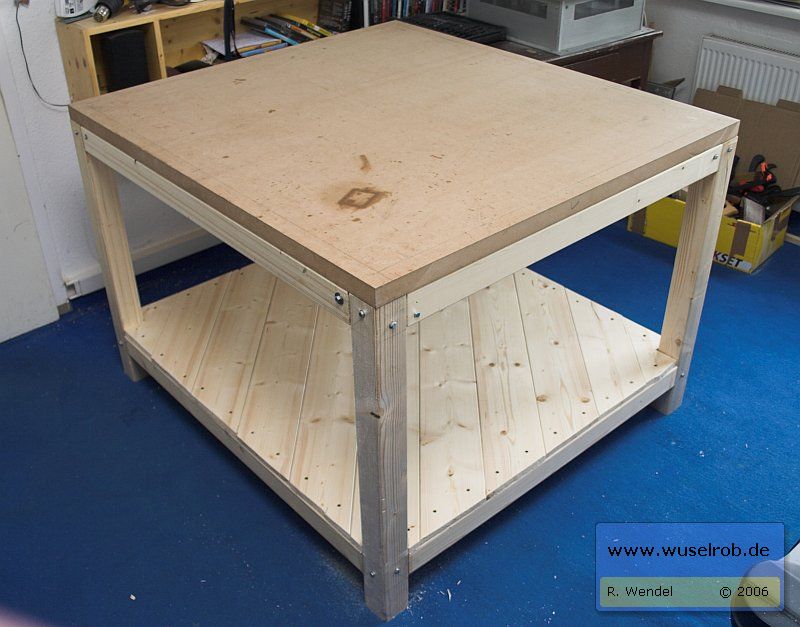
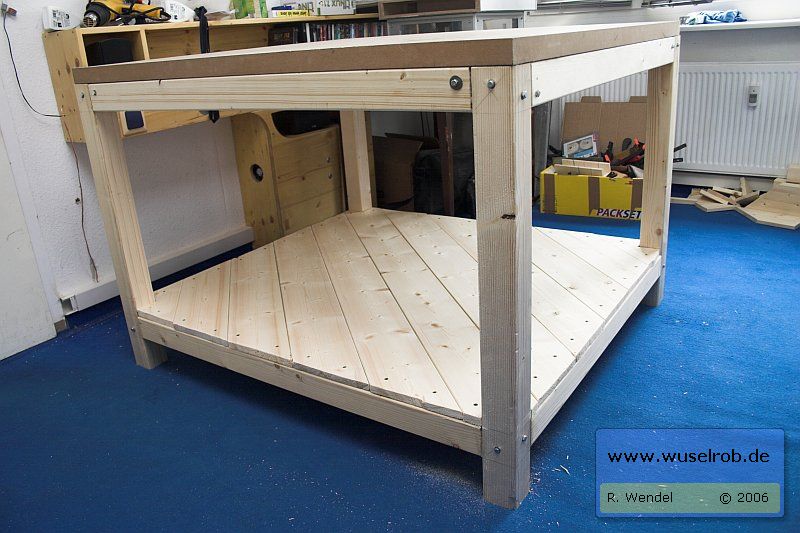
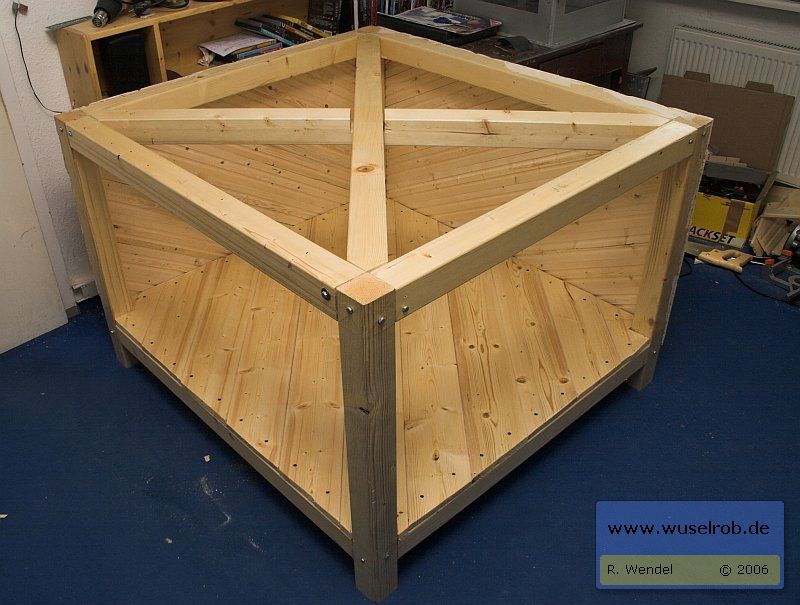
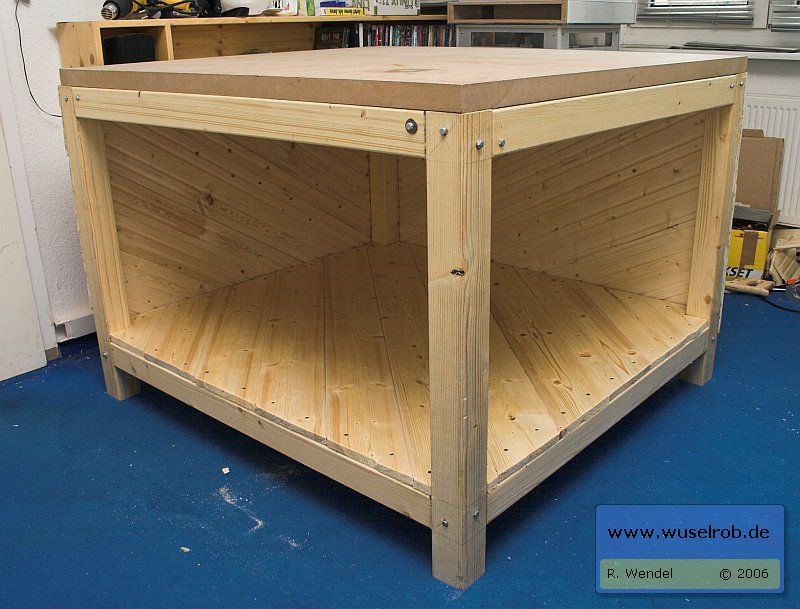

and finally:


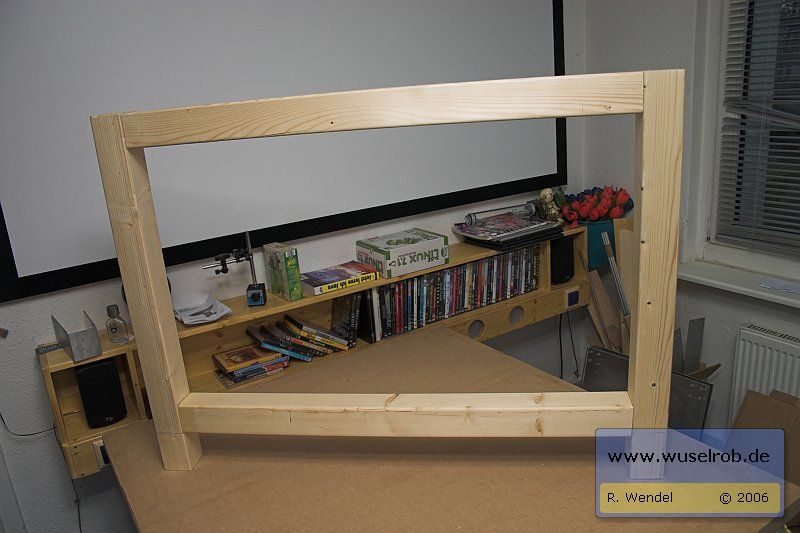
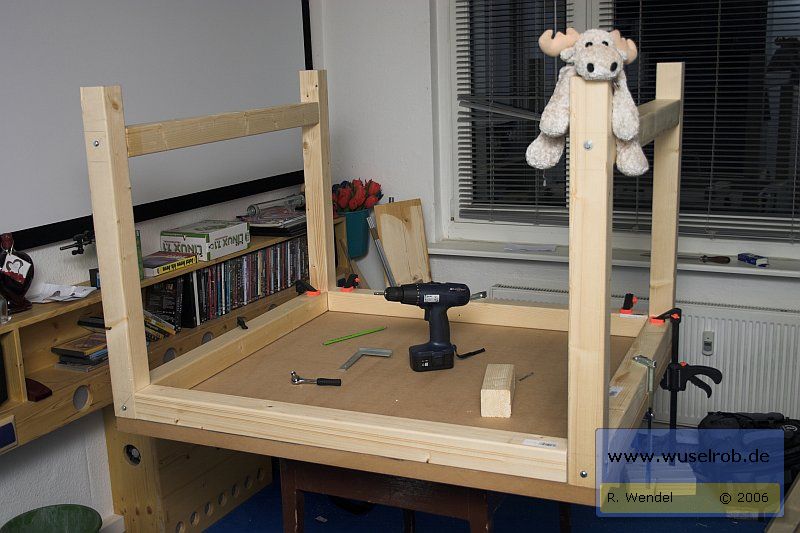
It's still a bit wobbly - now i have to use glue.
I think there could be some more wood bars to increase stability.


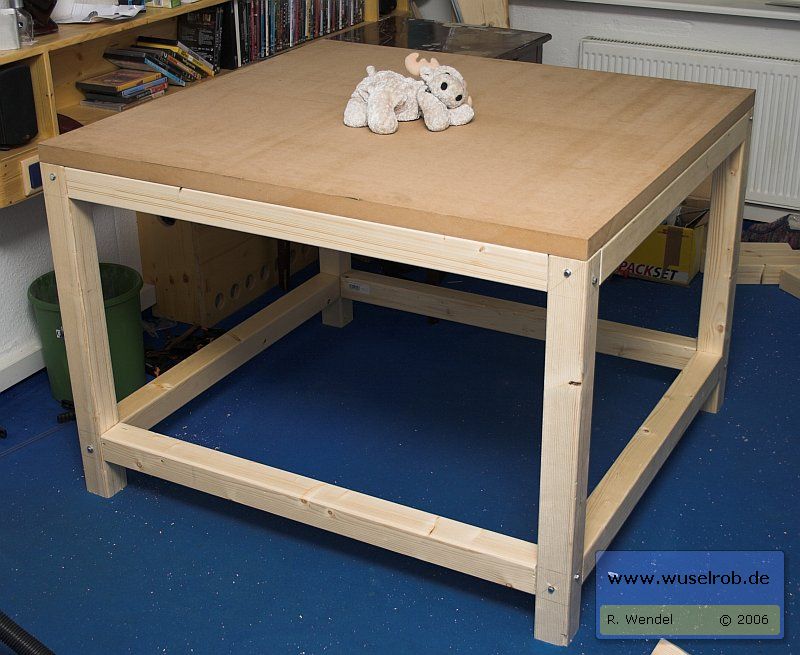
Weight of the table at the moment: 56,07 kilo

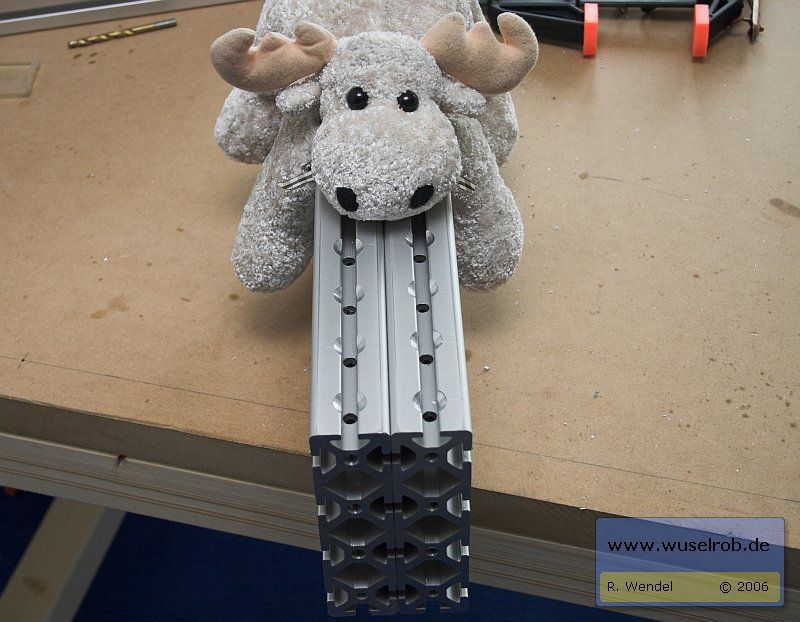
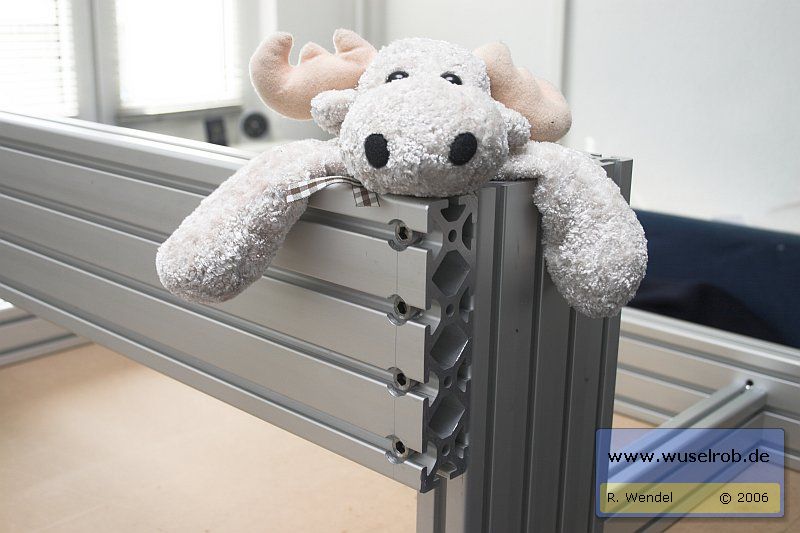
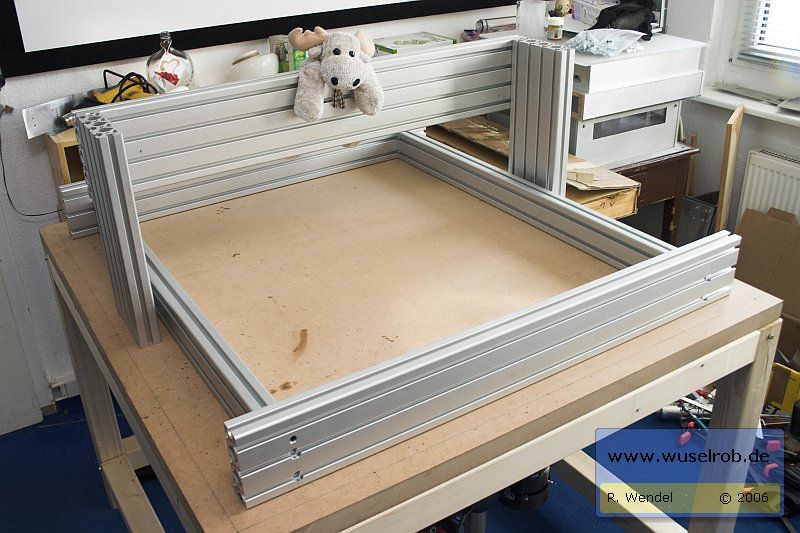
oh and the moose at some pictures will be my mascot during the project :)


Wednesday, 05. April 2006 - First drillings at the profiles
Today I drilled some aluminium profiles.


with lowered grooves and then drilled holes through it.


The rounded area inside the groove milled with a flat countersink so the screw head has good contact.


Thursday, 06. April 2006 - The drilling continues...
Today I drilled and milled again.

Here is how I try to measure the distance to the edge.
First I mark the 76 mm.
Then I use a groove stone (please send me E-mails if I use wrong translations vor technical terms) to mark the distance inside the grooves.


okay it works..


Friday, 07. April 2006 - Lowering, drilling, lowering...
I made some drilling for the YZ-Axes.


Hours later...


The drillings at the Y-profile


After the thread was tapped, I screwed together the YZ-portal


Monday, 10. April 2006 - Finishing the table
Now I mounted and glued two additional diagonal bars at the table to increase the contact face to the table plate and to get more stability.


Here I cutted and mounted the boards for the bottom of the table.


Weight of the table: 73,45 kilo !!


Wednesday, 12. April 2006 - Finishing the table
Today I mounted the panels at the back and the side of the table.
So the table is finished so far.


Weight of the table: 83,48 kg !!


Wednesday, 19. April 2006 - Mounting of the first ball screw
The delivery from ISEL came today.
I drilled the holes for the ball screws at the Y-portal and mounted them on trial.
Both ball screws are sitting at the same height.


The third drilling is to adjust the play of the balls.


Wednesday, 26. April 2006 - Breakthrough for the tooth belt
After some work with the file the breakthrough in the Y-profile for the belt is now ready.


Thursday, 27. April 2006 - Building the interface plate
Today I started to build the interface plate between the Y and the Z axis.
I drilled my draft from above in the plate. Then I lowered and trimmed the drillings a bit.

Now I set up all 4 wagons and hope that the drillings are at the correct places :)

Fits straightaway :)
From behind I mounted the ball screws. Under the ball screw there will be mounted a plate to get it at the right position later.

Now slide in the rails. No problems because the wagons are still not tighten..

Mounted at the profile


Monday, 08. Mai 2006 - Finishing the interface plate
Today the rails for my Z axis arrived.


I began drilling the holes for the Z wagons.
Then I saw that the ball screws are bad placed in my Drafts. Shit..
So I had to replace the drillings in my interface plate.
Front:

Back:

Some screws are still missing for the wagons.
Here is a picture of the mounted ball screws. The placing is clearly better now.


-Page 1- / Page 2 / Page 3 / Page 4