Do it yourself - CNC milling machine


Hello,
This is the project diary of my milling machine.
Because I'm a poor student, the project takes a while till it is completed. :-( Sponsors are welcome *g*


Material and tools
Plans
Links


Page 1 / -Page 2- / Page 3 / Page 4


Monday, 18. May 2006 - Trial set-up of the YZ-portal
Today some screws arrived which are necessary to mount the Z axis at the Y axis.
I bought some grease nipples for my wagons.

Mounted interface on the Z rails

The bottom

screwed on the Z profile and the Y-ball screw mounted.

The mounted wagons and rails of the Y axis

turned around..


Done. Profiles are mounted.

So far.. :-)
most of the electronic parts are ordered so I can start soldering the electronic.


Monday, 18. May 2006 - The servo motors are coming
Yeah, my servos arrived :)
So much Thanks to Stefan who lathed the shaft and mounted the encoders on it for me !
Shaft drilled out:

The shaft extension:

mounted shaft extension on the shaft:

Here the motor is in the lathe

mounted:

The opened motor to drill the holes for the encoders:

And here they are now.
I will let them work a few hours in both directions to make them smoother.


And these are the 3 industrial manufactured UHU-boards.


Monday, 29. May 2006 - Soldering the UHU boards
This night at 4am the first Controller board was finished :-)
I took a while for this.

So here is my first baby:
The electronic parts arrived:

Unpacked:

Preparation for the soldering-action ^^

Soldered all wire straps with 0.6 mm resp. 1 mm silver wire in the power area.

All Resistors were soldered:

And a few diodes:

...A few IC-sockets...

And many Capacitors:

Now soldering the power resistors and the connectors:

Now the UHU-Controllers came into the sockets.

Mounting the heat sink with clearance to the board and fixing the voltage converter.
Take care that you isolate it with a glimmer foil.


Now the first test can start.

And voilá...
UHU Number 1121 is signing in :)

Now I soldered the MOSFETs and the electrolytic capacitors on the power part.


Done.. All three boards are ready and are working fine.

Greets,
Robert


Wednesday, 07. June 2006 - Protection Circuit and transformer
My aluminium plate came.


Now I soldered a protection circuit with a board layout from André.
It is for galvanical isolation of the voltages from the interface board.
Furthermore the relais cut the connection to the motor voltage when an error occurs or the emergency shutdown is activated.


Then I begun mounting the transformer.


Greets,
Robert


Wednesday, 08. Juni 2006 - Finishing the servo power supply
Today the Capacitor boards arrived. Thanks Werner !

So i could continue.. Everything mounted and connected:


Friday, 23. June 2006 - First test at the PC

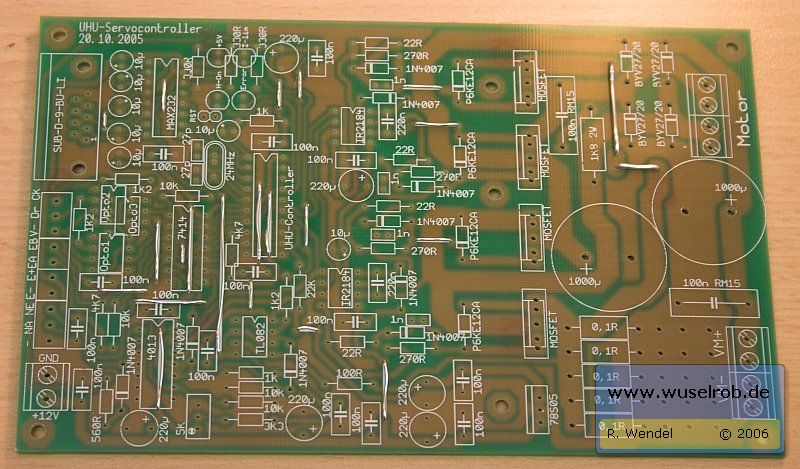
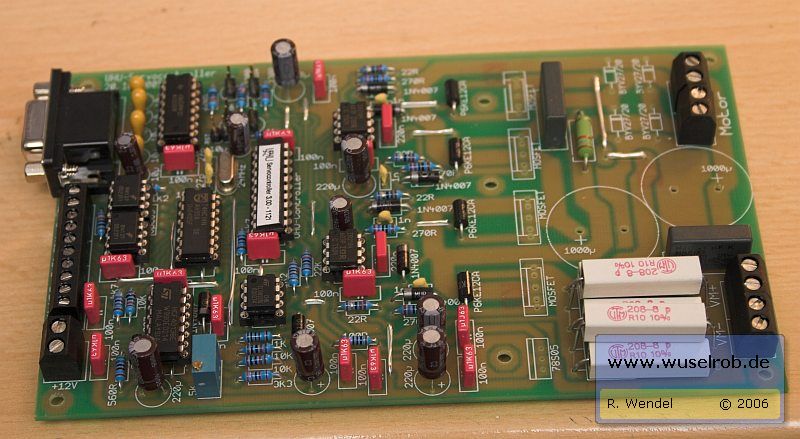
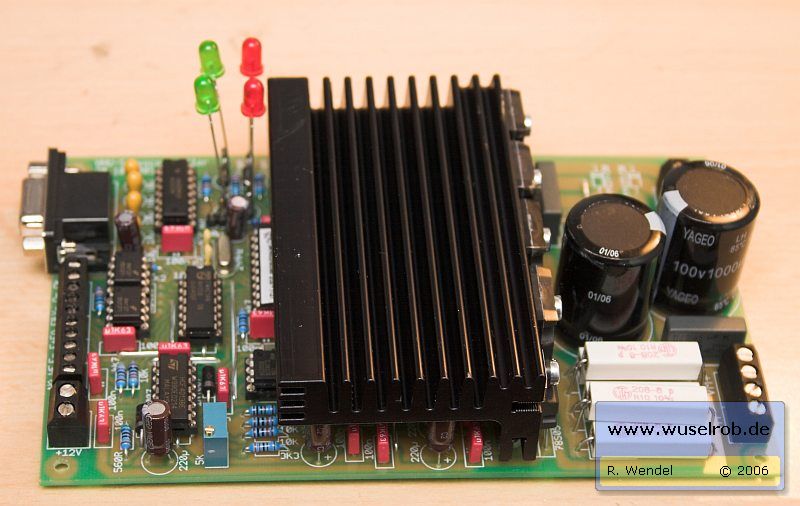
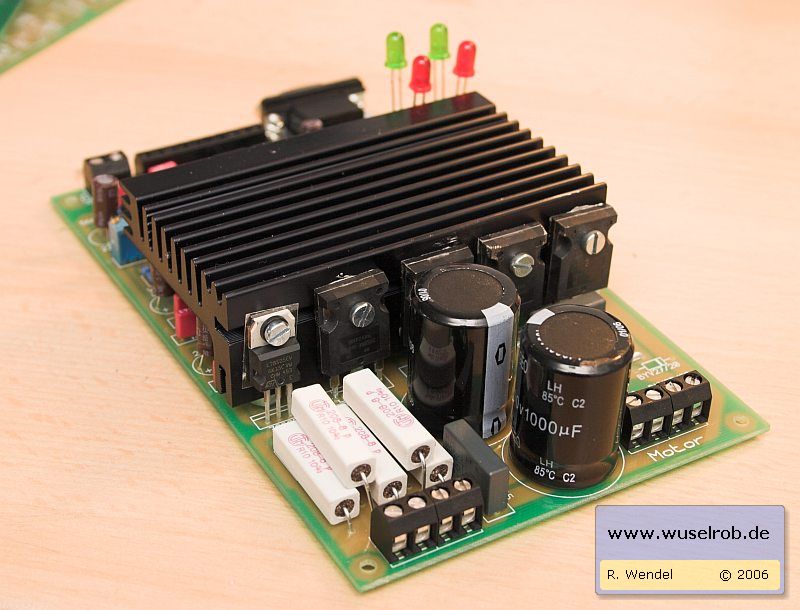
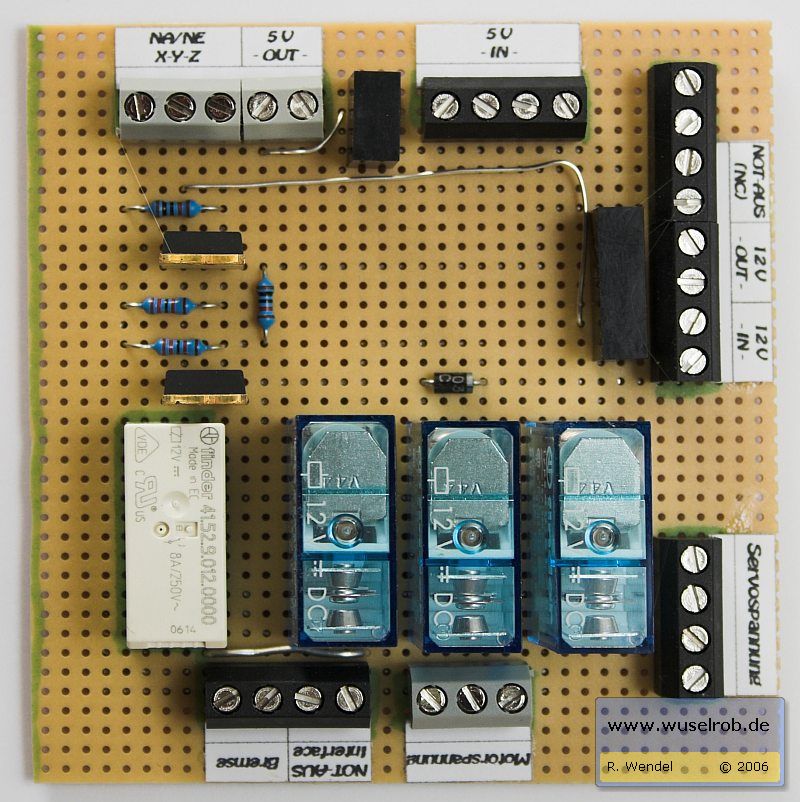
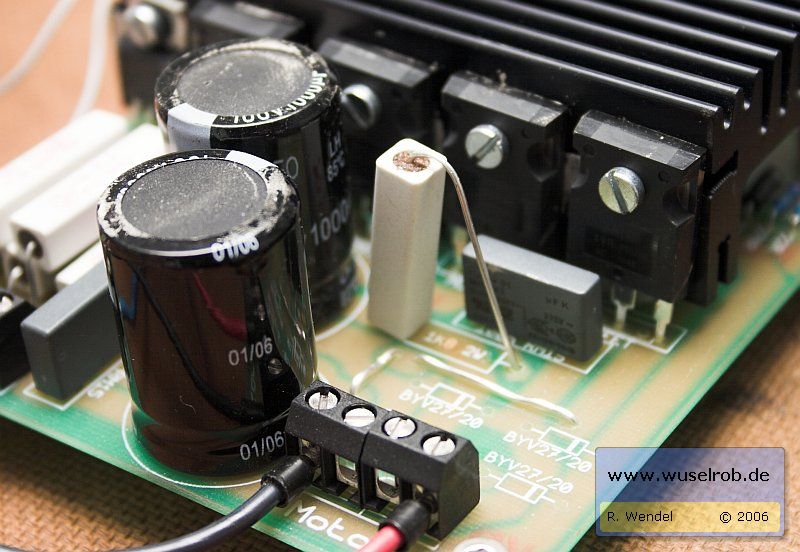
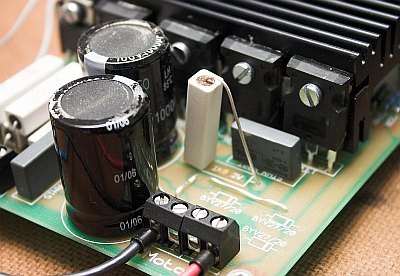
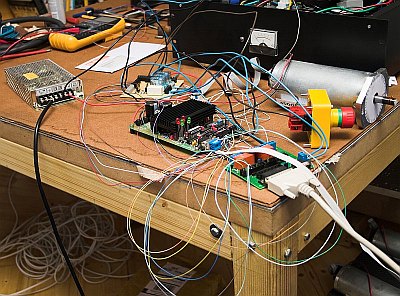
I changed some components on the board because the old ones have become too hot with my 80 volts.

My first video
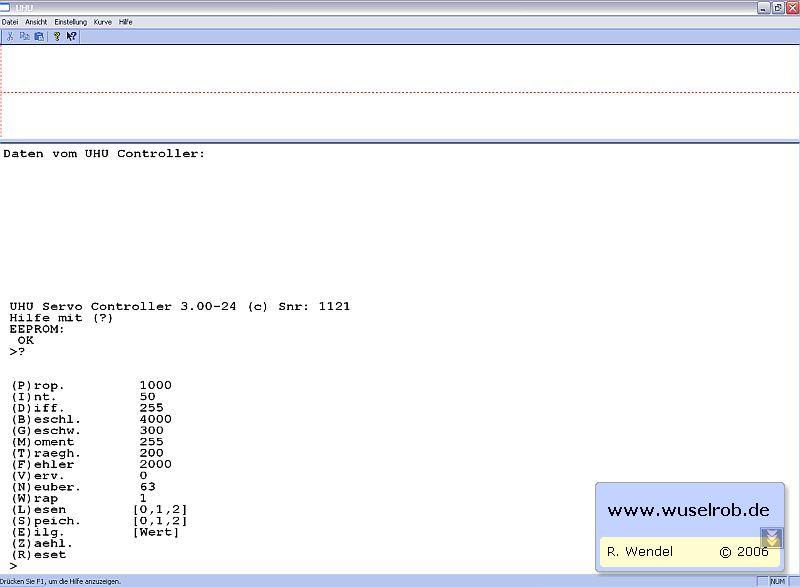
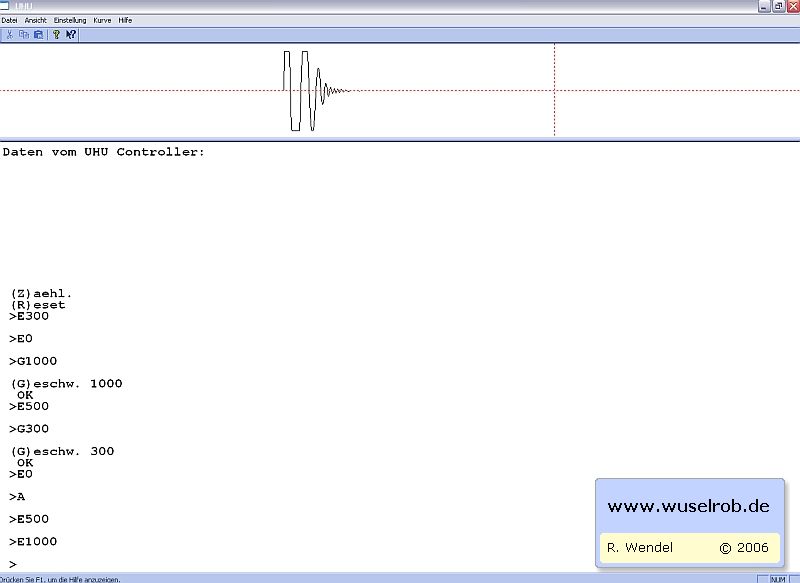
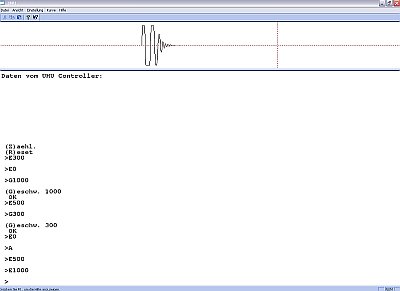
Here I sent a jump command with the analyzer tool to the connected UHU board.
Video (Codec: Xvid, Size: 80kb)

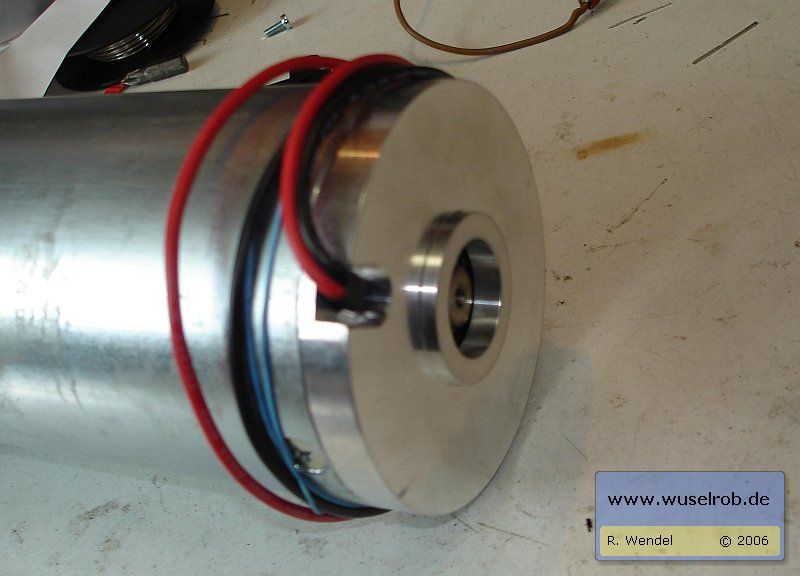
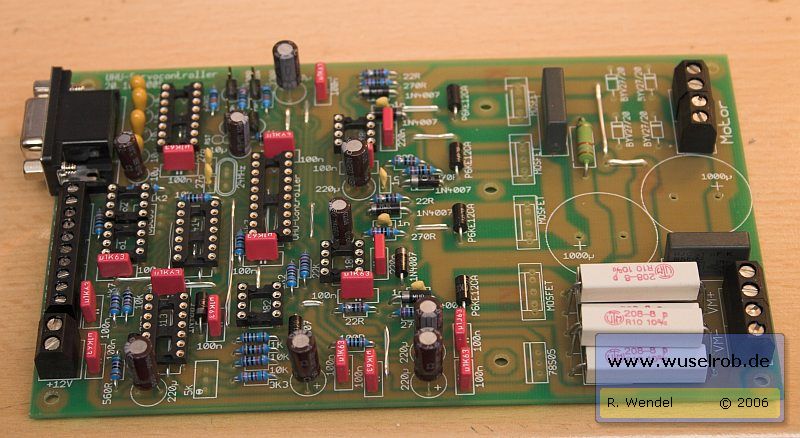
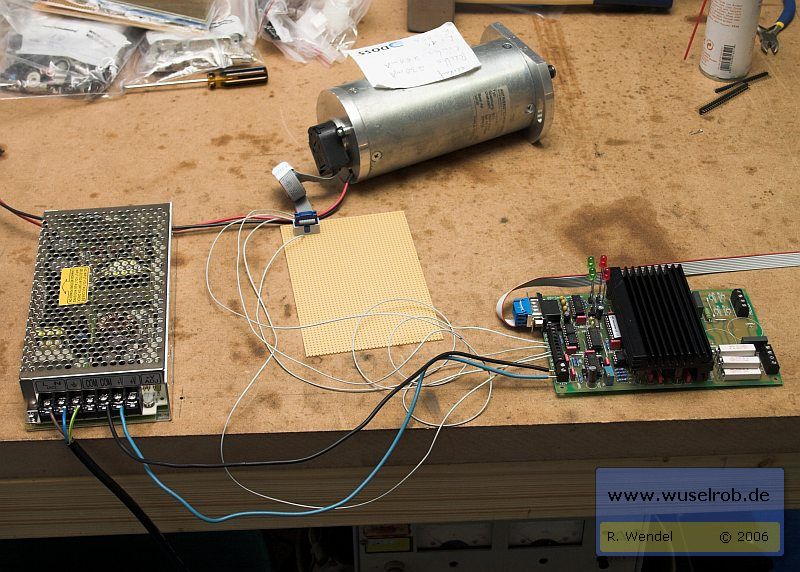
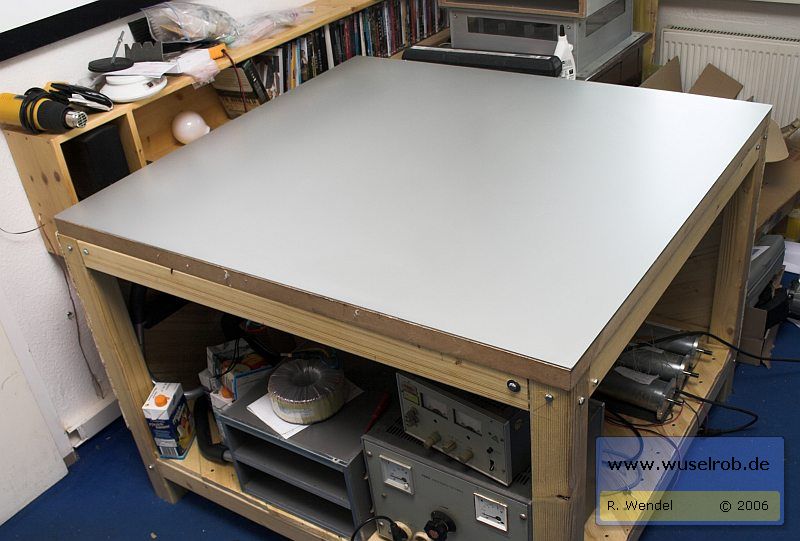
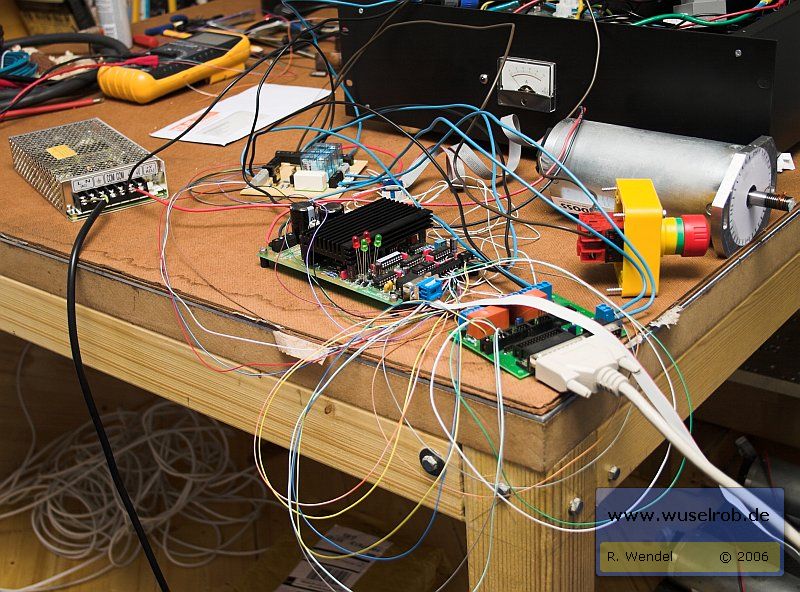
Now a flying wiring:

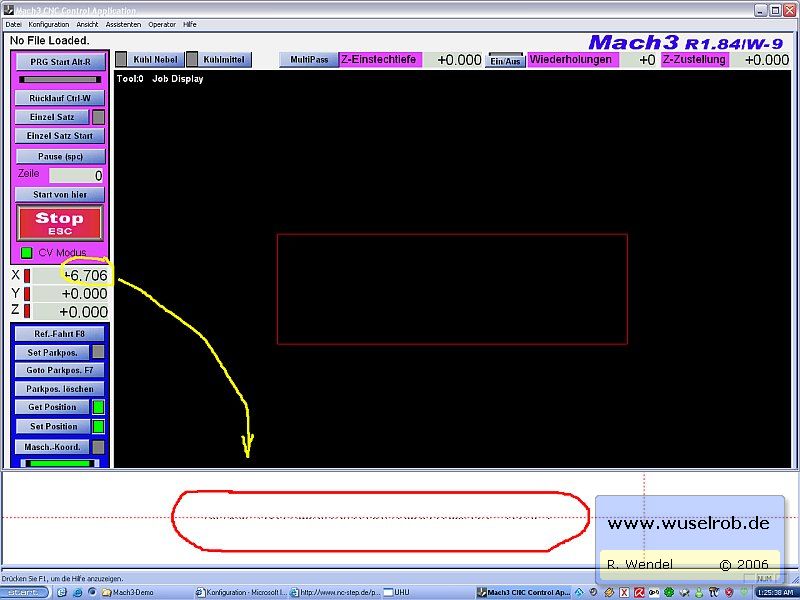
Now the great moment... Mach3 is preconfigured and the test can begin.
The motor was moved with the left/right keys of the keyboard.
The curve shows now the result I have expected.
Looks quite good :)

For comparation, here is the curve in the analyze tool without ramp control.

And here a video of the motor moved by the left and right keys of my keyboard.
Video (Codec: Xvid, Size: 152kb)

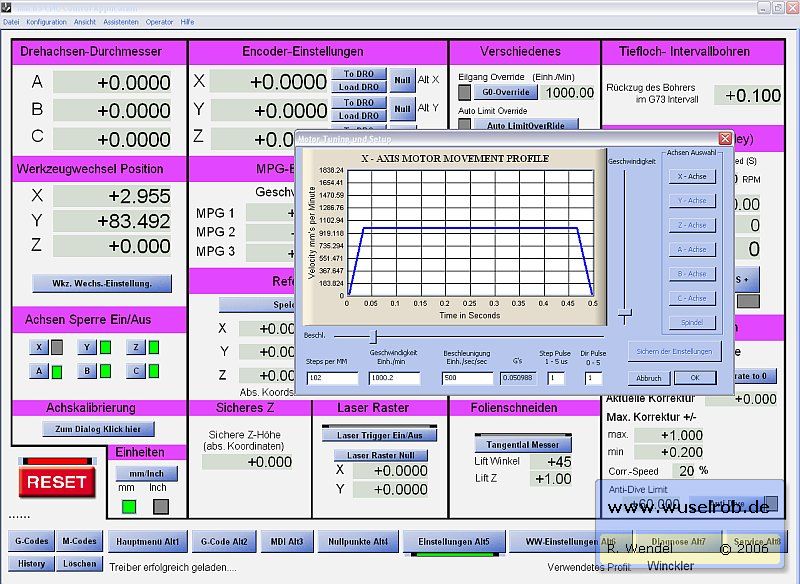
This is my ramp in Mach3:


Page 1 / -Page 2- / Page 3 / Page 4